- Vehicle model: RB170003 Dryer Drum Front Glide Kit Fits for Speed Queen 1992 & Newer Models! This upgraded kit, compatible with SM ADE30RGS171TW01, FGS17AWF, LES17AWF, LGH37A, replaces PD00055354 AP5186012. Ensure smooth operation with this essential Alliance Laundry Systems kit
- Part number: Part # rb170003
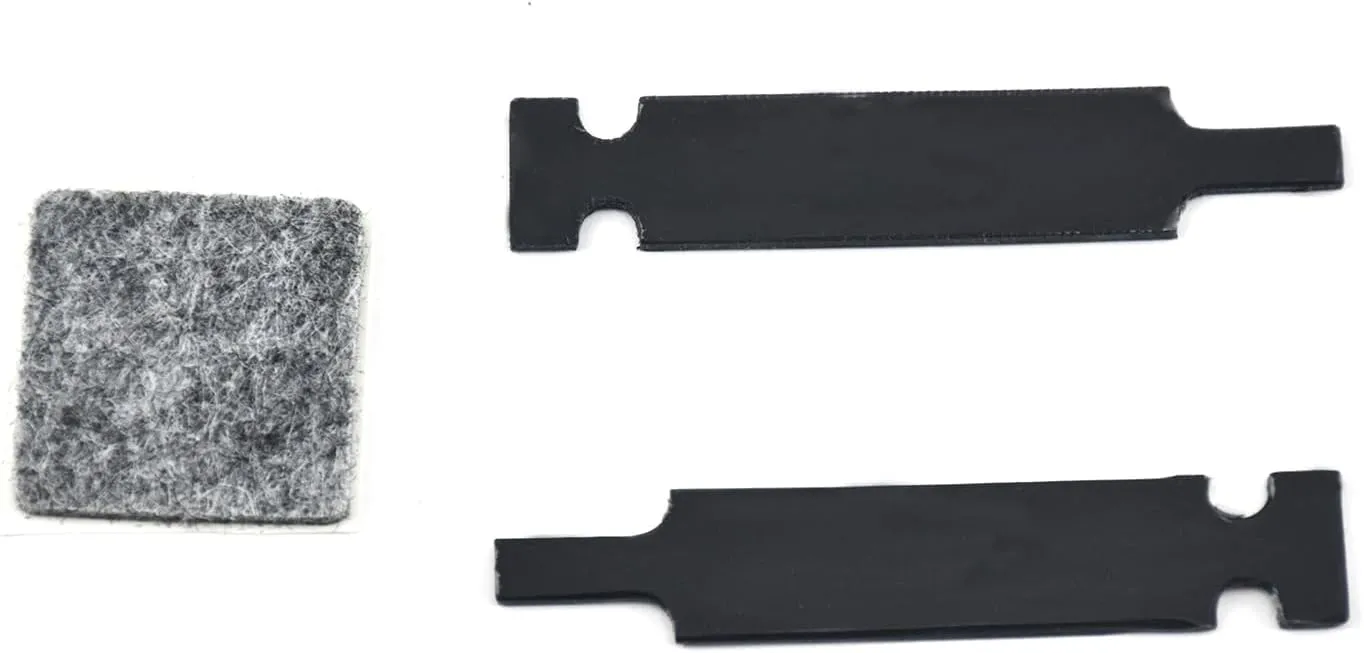
- Function: The main function of the dryer sliding kit is to support the dryer drum These sliding pads provide a smooth surface for the dryer drum to rotate, reducing friction and wear on the drum support rollers or bearings.
- Installation: Easy installation, turn off the stove power, remove the front panel, and then remove the old sliding kit. Paste the sponge and install a new pad, install the panel and test. If there is no noise, it is considered successful.
- Serve: In our store, you will receive priority service! Quick response, attentive care, making your shopping journey incredibly smooth.
Dryer Drum Front Glide Kit Glide kit, 1992&newer sm dryer works with some Speed Queen, and Amana models of clothes dryers.
RB170003 dryer glide replacement compatible with
for Speed Queen 1992 & Newer SM ADE30RGS171TW01 ADE32FSS431AN01
ADE32FSS431NN22 ADE32FSS541RN01
ADEE9BSS433XN34 ADEE9BSS455LW01
ADEE9BSS543DN01 ADEE9RGS173CW01
AES17AWF AES20AWF AES28AWF
AES28AWF1500 AES68AWF
BD3DXAGS403UW01 BD3LLFGS401UW01
BT3JGASP403UN01 BT3JGASP403UN06
HDEBCRGS176TW01 HDEBERGS153CW01, etc
Installation steps Step 1: Disconnect power to the dryer.
Step 2: Remove the top of the dryer. Using a screwdriver, remove the top panel of the dryer by removing the screws at the back of the dryer unit. Once the screws are removed, lift the panel to access the interior of the dryer.
Step 3: Locate the glide kit.This will be located around the drum in the dryer.
Step 4: Remove the worn glide kit.Be careful to avoid high-temperature components to prevent burns.Using a socket wrench, remove the four bolts which are attached to the glide kit. Gently lift the glide kit out of the dryer.
Step 5: Install the new glide kit.Using the same process, bolt the new glide kit in place.
Step 6: Test the new glide kit. Start the dryer and observe if there is any noise or vibrations coming from the glide kit. If everything seems ok, then the replacement is successful.
Step 7: Secure the top panel. Replace the screws to the back of the dryer and reattach the top panel of the dryer.


